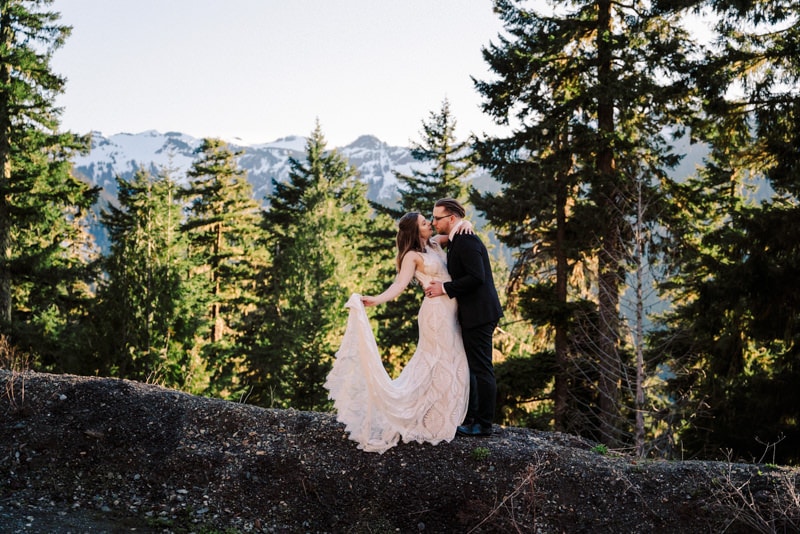
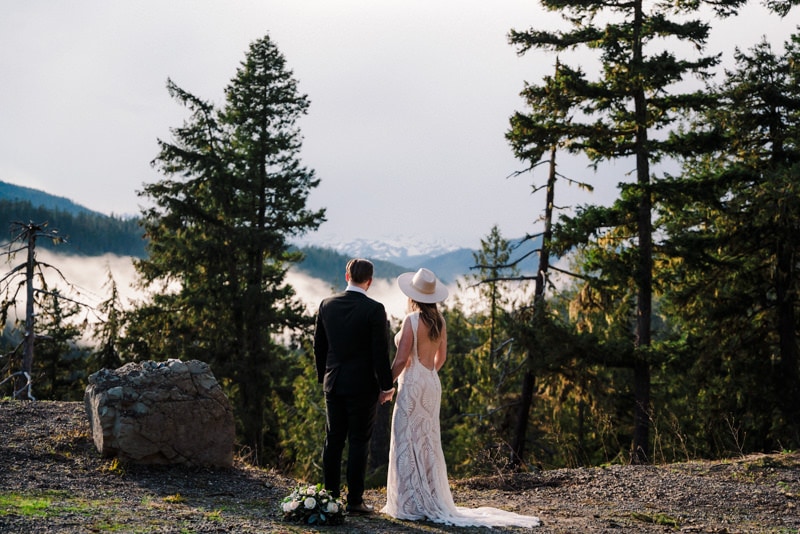
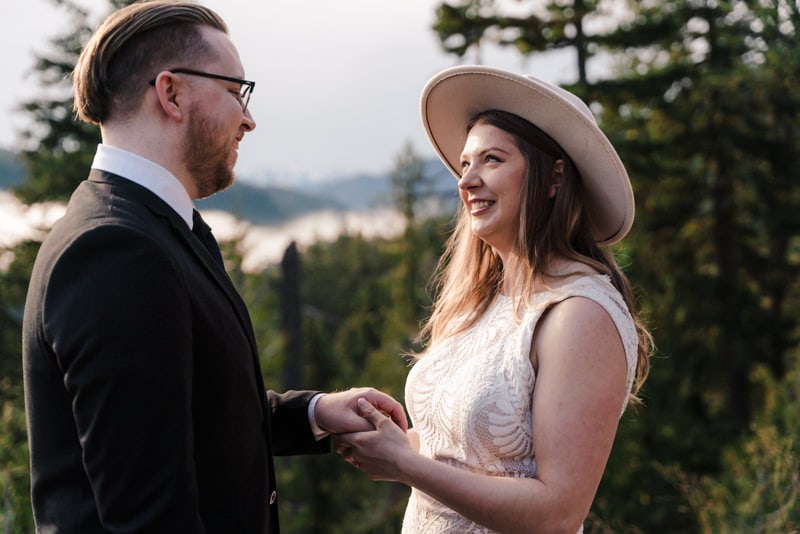
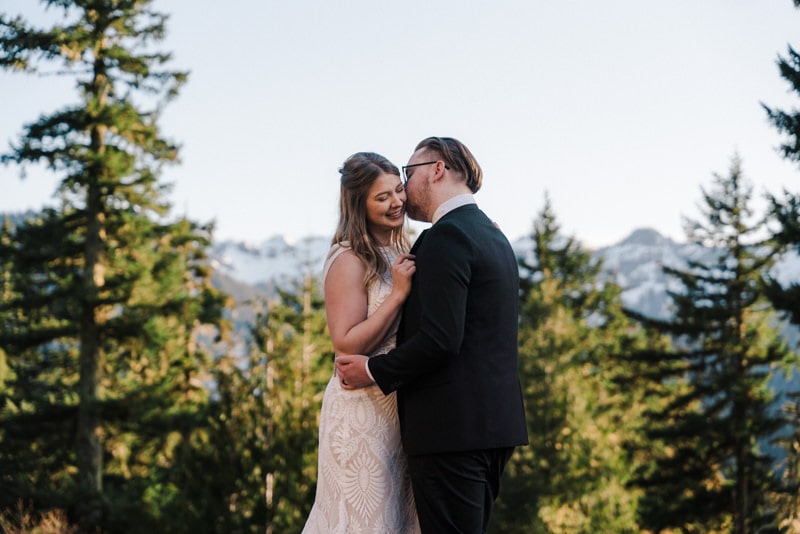
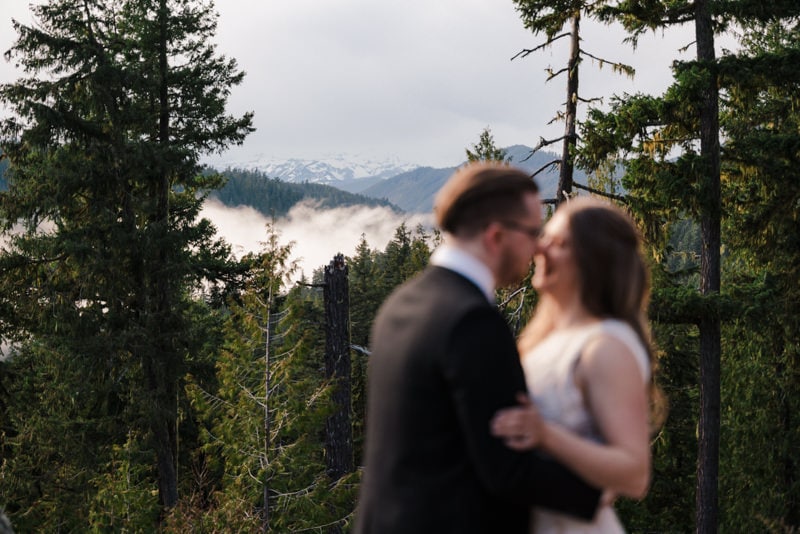
How to elope in Mt. Rainier National Park
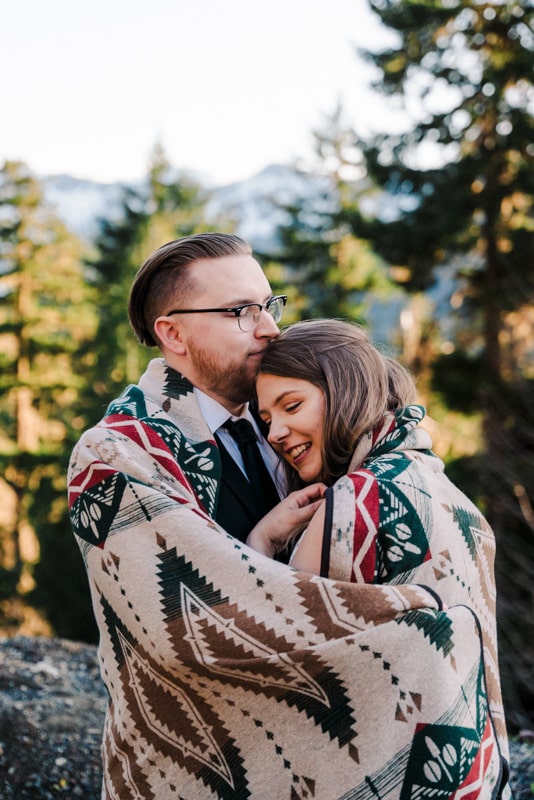
Are you dreaming of an intimate and breathtaking wedding experience? Mt. Rainier National Park might be the perfect place for your elopement! With its towering peaks, lush forests, and stunning vistas, this Pacific Northwest gem offers a truly magical backdrop for your special day. As an adventure elopement photographer who has captured countless beautiful moments, I’m here to guide you through how to elope in Mt. Rainier National Park.
How to Elope in Mt. Rainier National Park & Get The Correct Permits
Before diving into the details, it’s essential to understand the permit requirements for elopements in the park. Mt. Rainier National Park is a protected wilderness area, and permits are necessary to ensure the conservation of this pristine environment and to manage visitor numbers. Here’s what you need to know:
1. Wedding Permit: You’ll need to obtain a wedding permit from the National Park Service (NPS) to elope in Mt. Rainier National Park. These permits are designed to minimize the impact on the park’s natural resources and to maintain a peaceful experience for all visitors. Permit applications cost around $175 and applications must be submitted at least 4 weeks in advance. Be sure to check the NPS website for the most up-to-date information on permit fees and application processes.
2. Guest Limit: Keep in mind that elopements in the park are limited to a small number of guests, typically 12 or fewer. If you plan to have more guests, consider alternative locations outside the park boundary.
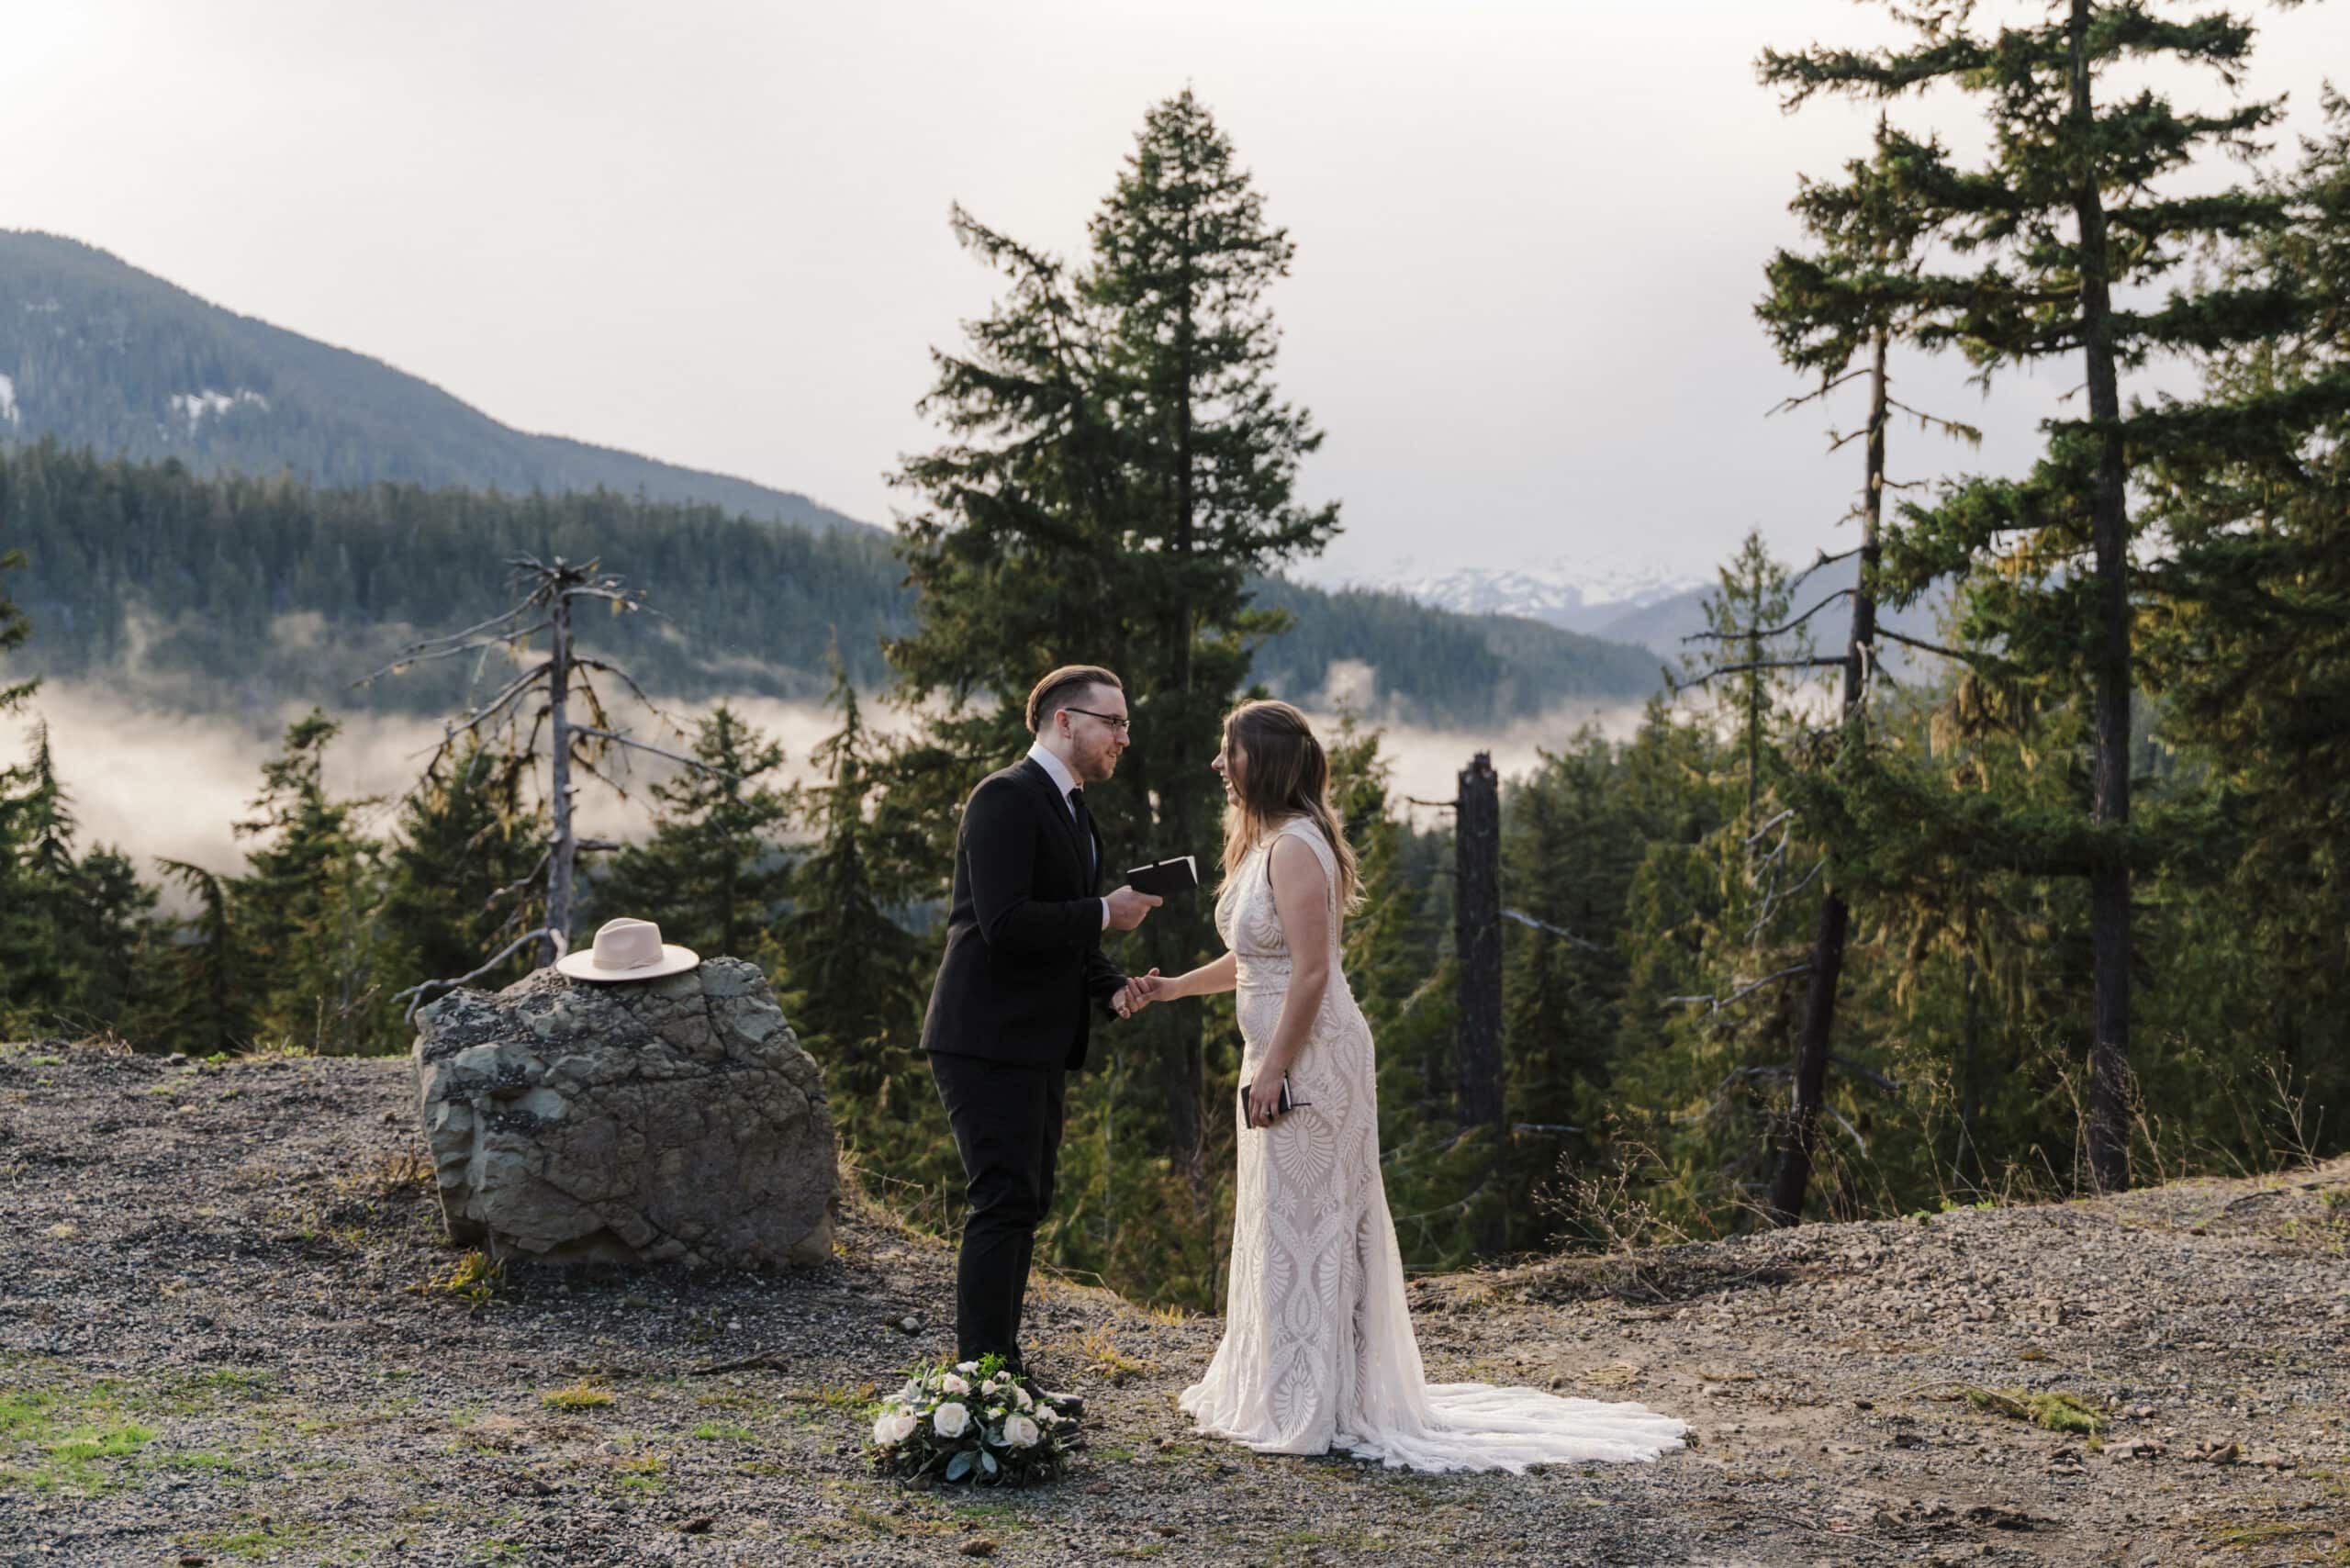
3. Specific Locations: You will need to specify your elopement location within the park when applying for your permit. Some popular locations include Paradise, Sunrise, and Tipsoo Lake.
Ceremonies in the park may not:
- Impede the activities of other park visitors.
- Areas may not be roped off or blocked in any way to the general public.
- Modest decorations may be allowed (additional permissions required).
- Additional permissions may be required for professional photography/videography; please include photographer contact information in the application form.
- The setting up of chairs, tents, or awnings is not permitted.
- Throwing of rice, confetti, etc. is not allowed.
As always also remember to practice Leave No Trace so that we leave a little impact as possible to the environment. This might mean limiting your guests, decor, and other details of your elopement. Also remember to never stand in the fragile meadows!
Best Times of Year to Visit Mt. Rainier National Park:
Mt. Rainier National Park’s climate and conditions vary greatly throughout the year, so it’s essential to choose the right season for your elopement:
1. Summer (Late June to Early September): This is the most popular time for elopements due to milder weather and open access to higher elevation areas. Wildflowers are in full bloom during this period, making for stunning photo opportunities.
2. Fall (Late September to Early October): The park’s foliage transforms into brilliant shades of red and gold, creating a picturesque backdrop for your elopement.
3. Winter (Late November to March): If you’re looking for a snowy wonderland, consider a winter elopement. Keep in mind that some areas of the park may be inaccessible due to snow, and be prepared for cold temperatures.
4. Spring (Late April to Early June): Spring brings lush greenery and cascading waterfalls, but also melting snow and potentially muddy trails. Be sure to check trail conditions if you plan to elope in the spring.
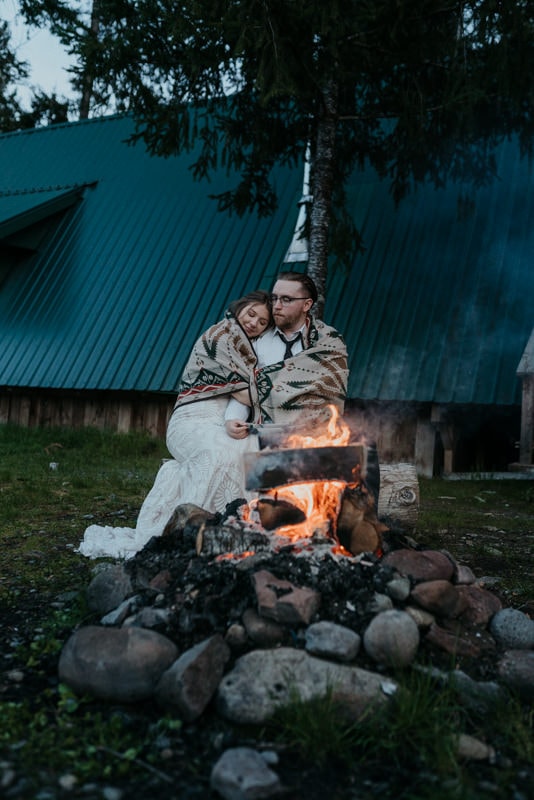
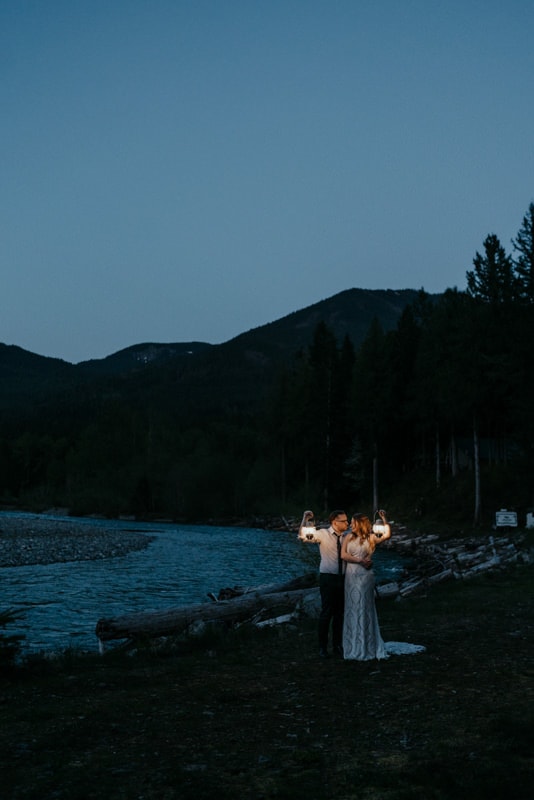
Activities for Your Mt. Rainier Elopement:
There are so many things to do inside the park! Here are just a few:
- Hiking (of course!)
- Waterfall hunting
- Have a picnic
- Stargazing
- Kayaking
- Camping
- Horseback riding
- Take a gondola up to Crystal mountain

Best Areas to Stay In:
While there are no accommodations directly within Mt. Rainier National Park, there are charming towns and lodges nearby where you can stay:
1. Ashford: This small community just outside the park’s Nisqually Entrance offers a variety of lodging options, including cabins, bed and breakfasts, and campgrounds. This is also the closest entrance to Paradise.
2. Packwood: Located on the southeast side of the park, Packwood is another excellent option for lodging, with cabins and vacation rentals. Closest to Tipsoo and Reflection Lake. Check out my favorite Airbnb here!
3. Enumclaw: If you prefer to be closer to the park’s west entrance, Enumclaw has several hotels and motels to choose from. Close to Sunrise visitor center.
Remember to book your accommodations well in advance, especially during the peak summer season.
How to get to Mt. Rainier National Park
1. When traveling from out of state:
- If you’re flying in from out of state, your destination will most likely be Seattle-Tacoma International Airport (SEA). Seattle is well-connected to major cities across the United States and internationally.
- Upon landing at SEA, rent a car or arrange for transportation to take you to Mt. Rainier National Park. Many rental car agencies are available at the airport.
- From Seattle, follow Interstate 5 South to exit 127 (WA-512 East) towards Puyallup.
- Continue on WA-512 East until it merges with State Route 7 South.
- Follow State Route 7 South until it intersects with State Route 706, which leads directly to the Nisqually Entrance of Mt. Rainier National Park.
1. From Seattle (Northwest):
- Start your journey in Seattle, a major gateway to Mt. Rainier.
- Take Interstate 5 South to exit 127 (WA-512 East) towards Puyallup.
- Continue on WA-512 East until it merges with State Route 7 South.
- Follow State Route 7 South until it intersects with State Route 706, which leads directly to the Nisqually Entrance of Mt. Rainier National Park.
2. From Tacoma (Southwest):
- Begin your trip in Tacoma, which is another convenient starting point.
- Take Interstate 5 South to exit 127 (WA-512 East) towards Puyallup, just as you would from Seattle.
- Follow the same directions mentioned above, continuing on State Route 7 South to State Route 706 to reach the park’s Nisqually Entrance.
3. From Eastern Washington:
- If you’re coming from the eastern side of the state, you can access the park via State Route 410 or State Route 12, depending on your location.
- Both routes offer picturesque drives through forests and valleys, eventually leading you to the northeast and southeast entrances of Mt. Rainier National Park.
Need more help figuring out how to elope in Mt. Rainier National Park? If you have any questions or need assistance planning your elopement, feel free to reach out—I’m here to help you make your dream elopement a reality! Also, check out this Packwood elopement I photographed outside of Mt. Rainier National Park.